


lxversarcana asked:
I'd love to hear about your painting process if thats an art topic you'd like to talk about! Those portraits you did of Callisto and Aquila just always leave me stunned whenever I see them, your use of color is just absolutely gorgeous.
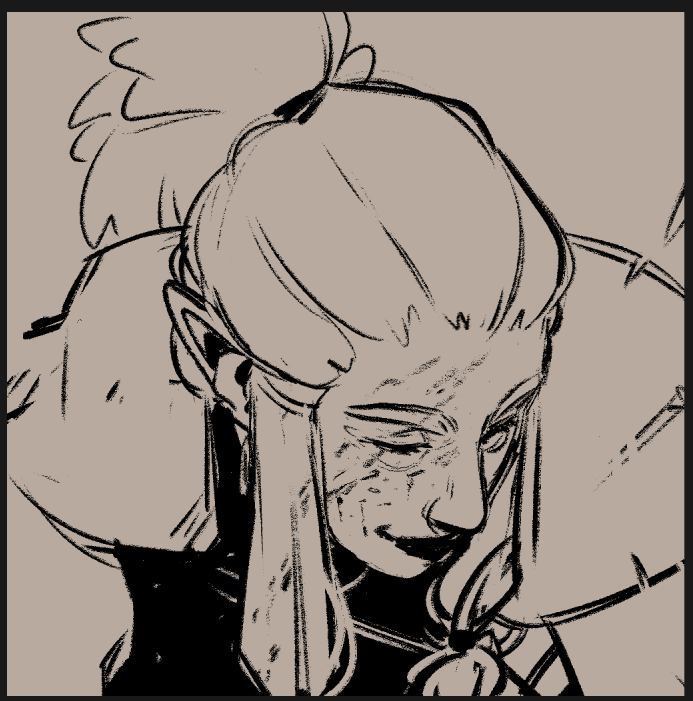
Above is a timelapse recording of me working on this portrait, and below I will breakdown all the steps I went through to create it. I recommend you watch the timelapse first!
I'm using the curves adjustment layer to handle the lighting in this, I don't always work this way but the reason I developed this technique was when I was creating lineless comics and I wanted to have an auto action to set up the same lighting layers quickly, while also being able to manually change certain colours if I want to.
You can find another timelapse of me using this method in a comic context here
edit Jan 2025: This post is a few years old now, and this specific painting technique is not a method I use very often anymore. But, I do often use the curves adjustment in other ways and I frequently use layer masks, and this is one example of how you can use these!
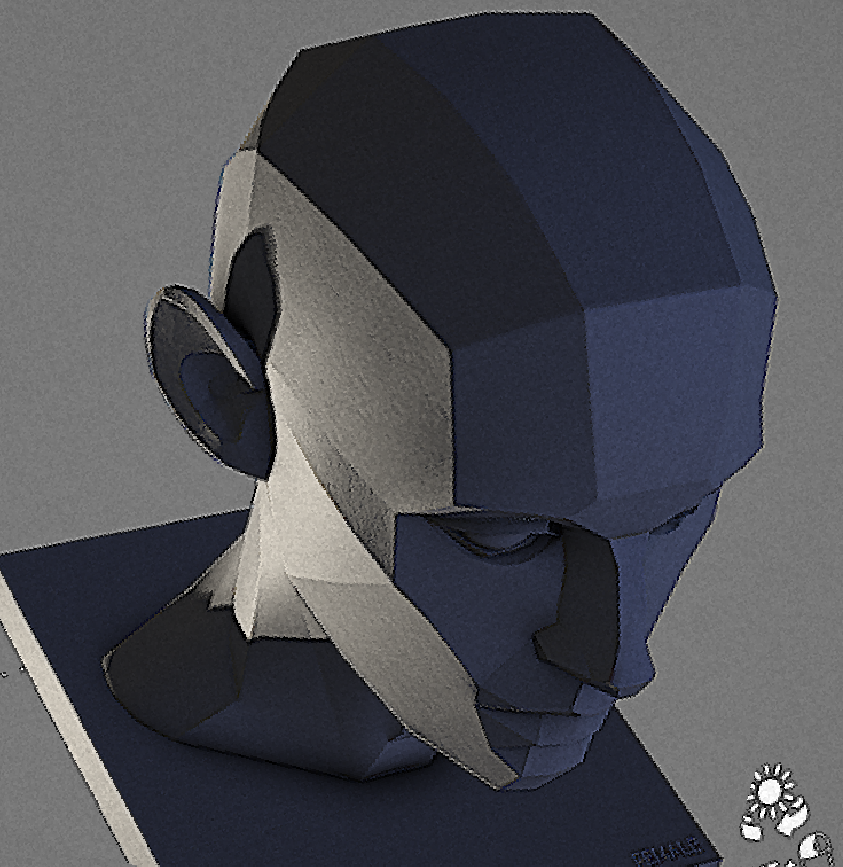
Additionally, in Clip Studio Paint v3.1.0, or v4.0 perpetual (which, as of writing this edit, comes out in March), they overhauled the lighting engine for CSP's 3d model feature, adding the option to cast shadows onto models. Below I link to a web based tool, but I now instead use a head model in CSP & enable cast shadows to figure out portrait lighting as it's a little more versatile, but the web tool is still helpful if you don't have the right version of CSP.
1: After I figure out a sketch I'm happy with, I usually open up this lighting reference tool and figure out what kind of lighting I want.
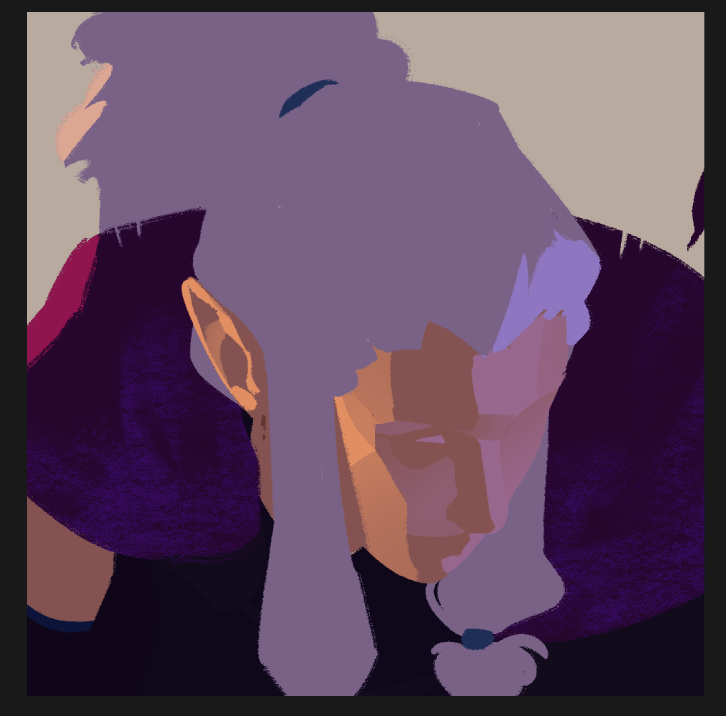
2: Then using my ink brush (which lays down solid colours) I lay out some flats
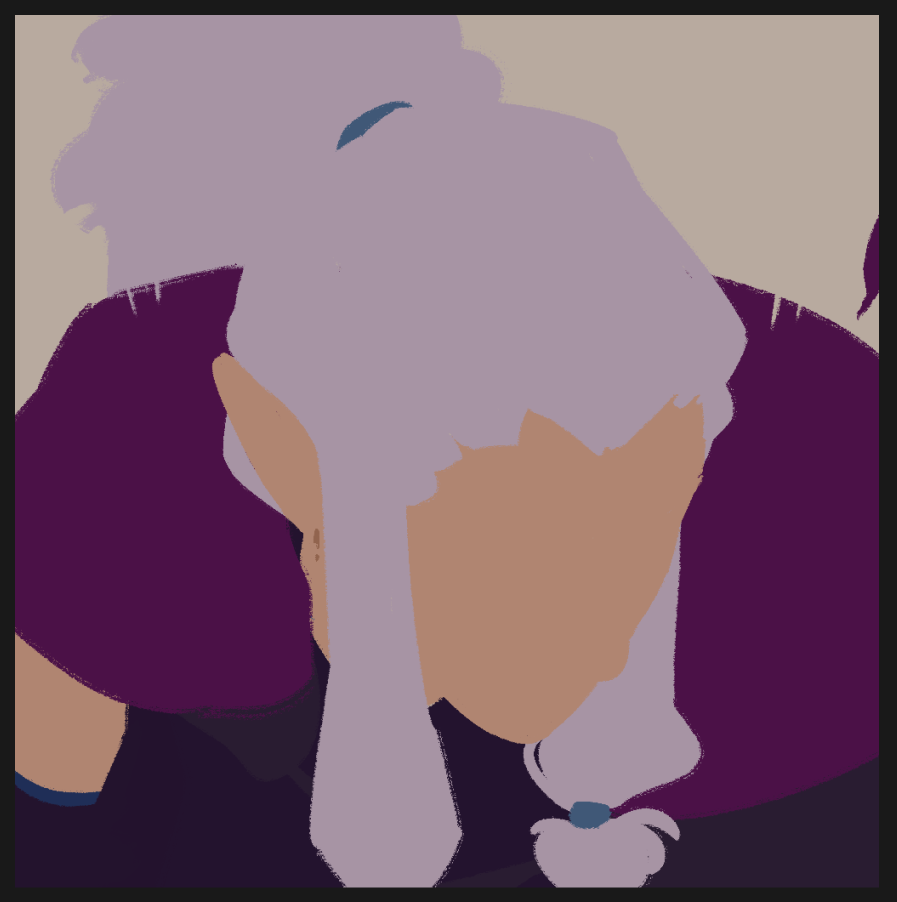
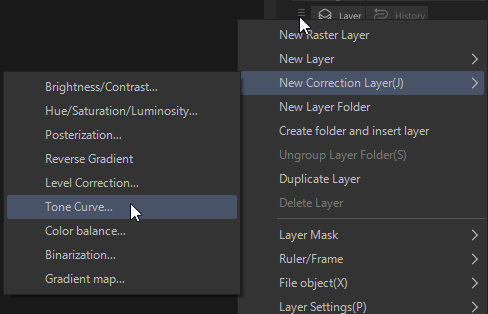
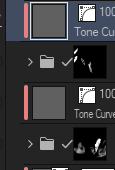
3: Then I duplicate my flats, and using a curves adjustment layer which I clip to my duplicated flats, I create the light I want.
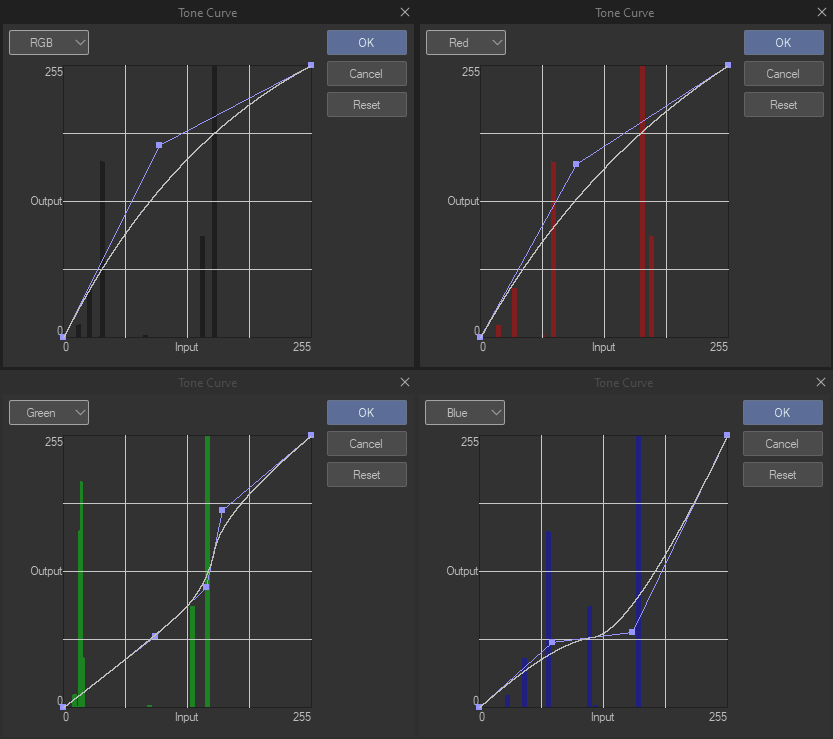

My flats are set up so that I can easily select individual colours—in this piece, that means they're all on separate layers, but when I work using a pixellated binary brush I'm doing so because that means I can select my flats using the magic wand tool even if theyre on one layer.
This means that when I've done my main lighting adjustment, if I'm not happy with one of the colours I can select that colour and adjust it further.
The curves tool is a little hard to explain, but, increasing red will make a colour more red while decreasing red will make it more cyan, because cyan is the inverse of red. Then the other two are green and magenta, and blue and yellow. The RGB one will brighten or darken everything, also!
If you play around with it you should start to get a feel for it, I think of colours in relation to how rgb/cmy they are so its just intuitive for me to do lighting this way 😅
4: Anyway I do the same thing again for the secondary light, and then using layer masks I paint in the lighting
5: Then I make a new regular degular layer and start painting on top, I initially use my ink brush to do things like her eyes n lips but then I switch to my thick paint brush and enable randomize colour to add a little colour variation to my brush strokes n just go absolutely ham god bless
6: at the very end there i add a little bit of bloom with an overlay layer and an airbrush
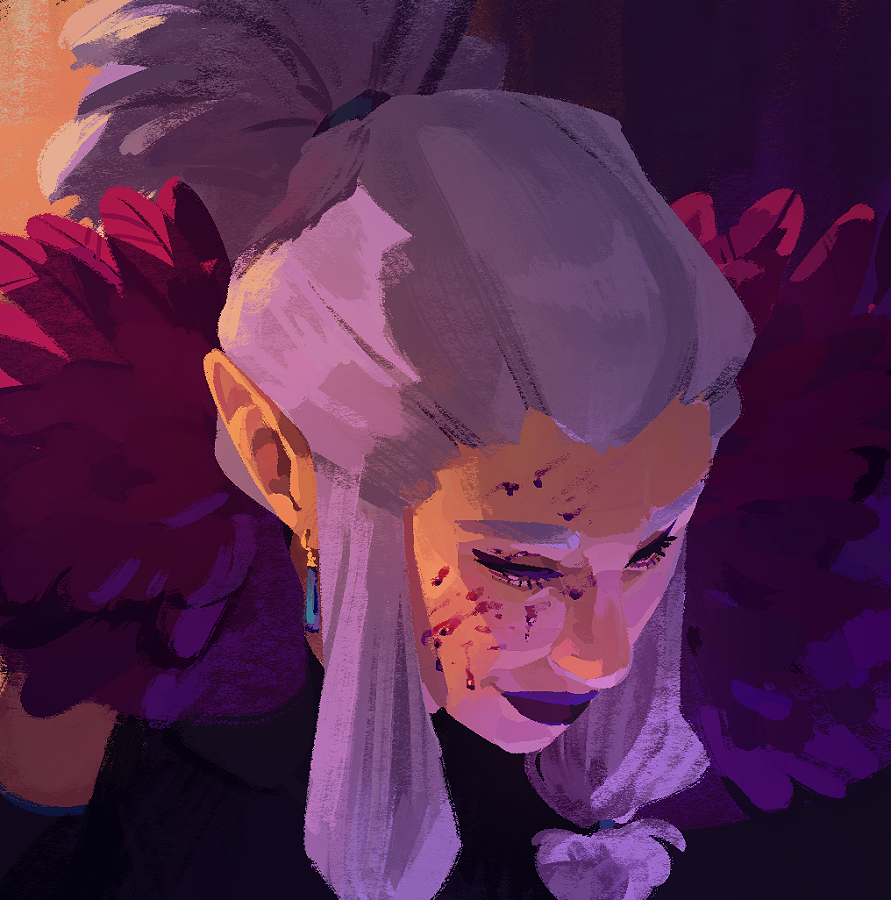
7: Not shown in the timelapse, but I later went in and reworked the mantle to actually define the feathers.
Anyway, I hope that was insightful!
No comments yet!